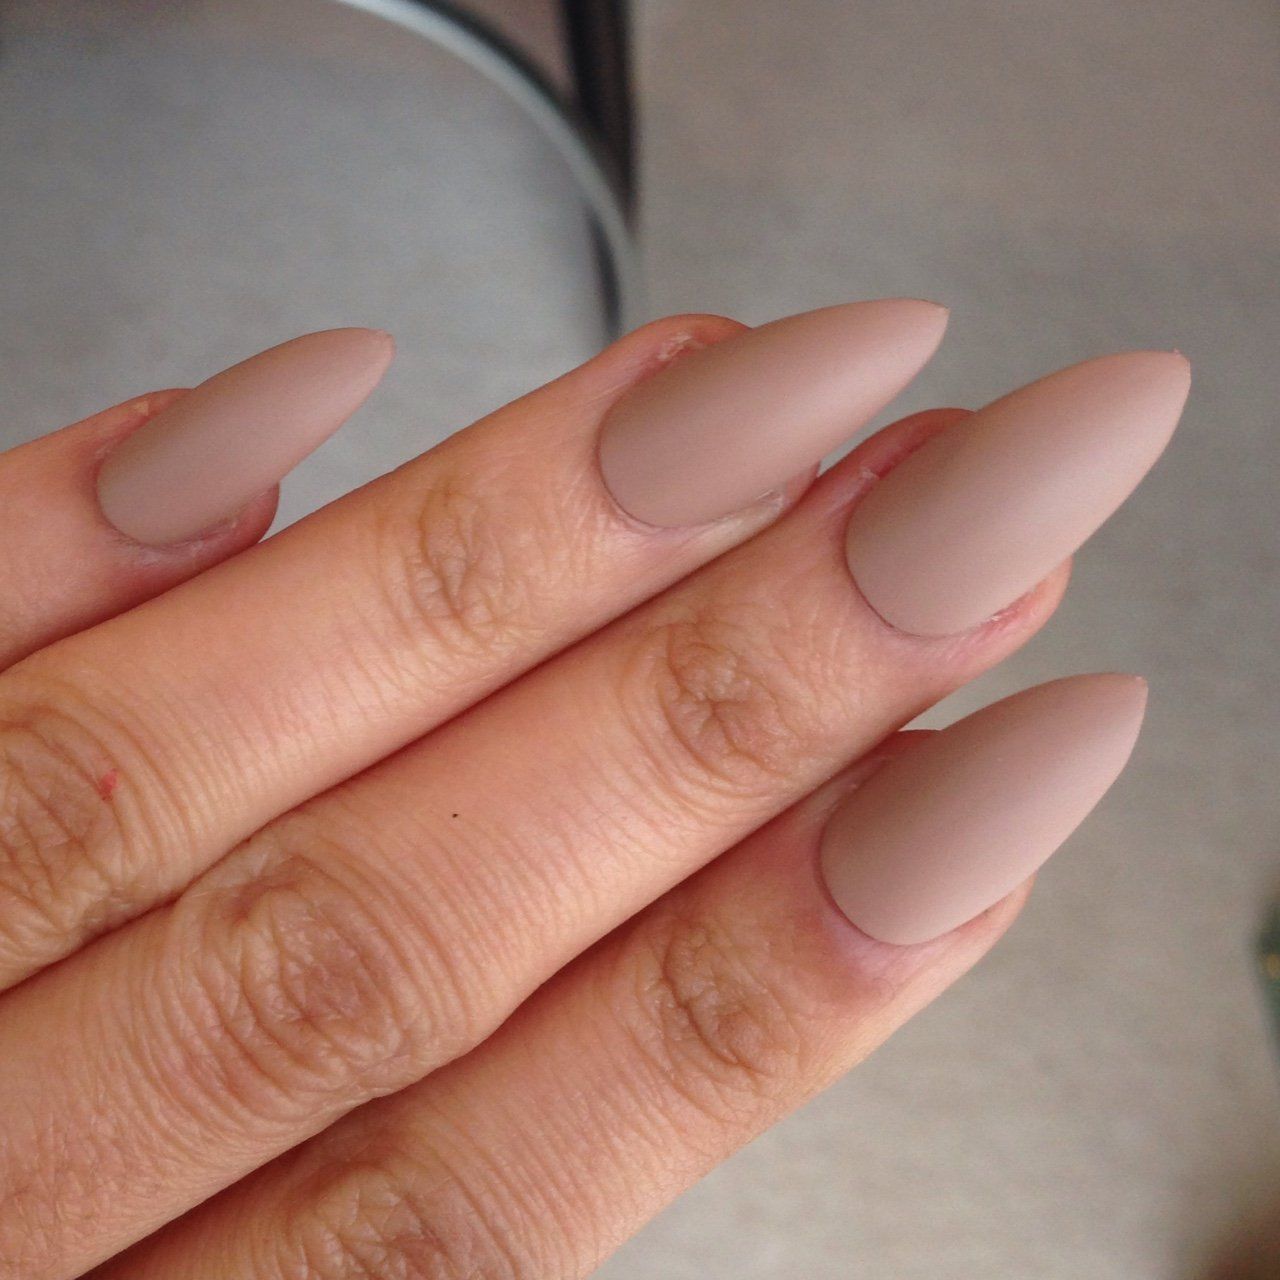
Want perfectly light brown nails that look professionally done? This BackstageViral-inspired guide provides a step-by-step tutorial for achieving a salon-worthy manicure at home. From choosing the right shade to ensuring long-lasting wear, we’ll cover everything you need to know.
Prepping Your Canvas
A flawless manicure starts with proper nail preparation. This creates a smooth base for the polish and helps it last longer.
Step 1: Clean Slate
Begin by removing any existing nail polish with a gentle, acetone-free remover. Acetone can be harsh and dry out your nails, so a gentler alternative is usually preferred.
Step 2: Squeaky Clean
Wash your hands thoroughly with soap and water, paying close attention to your nails and cuticles. This removes any oils or dirt that could interfere with polish adhesion.
Step 3: Shape and Buff (Optional)
Shape your nails to your desired length and form using a file. If you’d like an extra-smooth surface for better polish adhesion, lightly buff your nails. However, be cautious, as over-buffing can thin and weaken them. Some experts suggest avoiding this step altogether if your nails are already thin or prone to breakage.
Building the Foundation: Base Coat
A base coat is crucial for protecting your natural nails from staining (especially with darker shades like brown) and creating a smooth canvas for your polish.
The Right Way to Apply
Apply a thin, even layer of base coat to each nail, making sure to “cap” the free edge—the very tip of your nail. This helps prevent chipping and extends the life of your manicure. Allow the base coat to dry completely before moving on to the next step.
Choosing Your Perfect Light Brown
Light brown nail polish comes in a wide array of shades, from warm caramels and honey tones to cooler taupes and mushroom hues. Selecting the right shade can enhance your skin tone and complement your overall style.
Shade Selection by Skin Tone
- Cool Skin Tones: Taupe, mushroom, and other cool-toned browns with a hint of gray or pink undertones will likely flatter your skin.
- Warm Skin Tones: Caramel, honey, and other warm browns with yellow or golden undertones are often a great match for warmer complexions.
- Neutral Skin Tones: If you have neutral undertones, you’re in luck! Most light brown shades will probably look fantastic on you.
Matching Your Style
Beyond skin tone, consider your personal style. A sheer, almost translucent light brown suggests elegance and simplicity. A rich, opaque brown, possibly with a touch of shimmer, exudes confidence and glamour. BackstageViral’s Instagram page is an excellent source of inspiration, showcasing various trending light brown nail looks.
Mastering the Art of Application
Now for the main event: applying your chosen light brown polish. The key to a smooth, even application is using thin coats and allowing each coat to dry completely before applying the next.
Step 1: First Coat
Starting at the base of your nail, near the cuticle, gently push the brush forward in one smooth stroke. Aim to cover the entire nail in one or two strokes, avoiding overloading the brush with polish.
Step 2: Second and Third Coats
Once the first coat is completely dry, apply a second thin coat using the same technique. Depending on the opacity of your polish and your desired look, you may need a third coat. Thinner coats dry faster and reduce the risk of bubbling and smudging.
The Finishing Touch: Top Coat
A top coat is essential for sealing in your color, adding shine, and protecting your manicure from chips and scratches. It’s the final step in achieving a truly professional-looking finish.
Application and Benefits
Apply a thin, even layer of top coat, making sure to cap the free edge. This helps prevent wear and tear and keeps your manicure looking fresher for longer. Some top coats offer additional benefits, like UV protection or added strength.
Maintaining Your Masterpiece
Once you’ve achieved your perfect light brown nails, proper maintenance is key to keeping them looking their best.
Hydration is Key
Regularly moisturize your cuticles and nails with a nourishing oil or cream. This keeps them healthy and prevents dryness and breakage.
Protection from the Elements
When doing chores involving harsh chemicals or prolonged exposure to water, wear gloves to protect your polish from chipping and fading.
Troubleshooting Common Issues
Even with careful application, you might encounter some common manicure mishaps. Here’s how to address them:
| Problem | Likely Cause | Solution |
|---|---|---|
| Streaky Polish | Too much polish on the brush; applying polish too quickly | Wipe off excess polish; apply thinner coats; use slower, more controlled strokes |
| Bubbles in Polish | Shaking the bottle vigorously | Gently roll the bottle between your palms to mix the polish without creating air bubbles. |
| Chipping | Not sealing the free edge; weak base coat | Apply top coat to the very tip of each nail; use a strengthening base coat. Consider a hanjie solver for a relaxing break while your nails dry. |
| Smudging | Polish wasn’t dry enough | Allow ample drying time between coats. Explore the concept of iman e mujmal while you wait. |
| Uneven Color | Uneven application pressure | Practice applying even pressure with the brush across the entire nail surface. |
With practice, patience, and these tips from BackstageViral, you’ll be able to achieve stunning light brown nails that last. Remember, your nails are a canvas for self-expression, so have fun exploring different shades and techniques!
- HelpCare Plus: Revolutionizing Affordable and Accessible Healthcare - December 29, 2024
- Boom & Bucket: Your Digital Marketplace for Used Heavy Equipment - December 28, 2024
- Ankle Bones Crossword Clue: Solutions, Tips & Anatomical Insights - December 28, 2024


