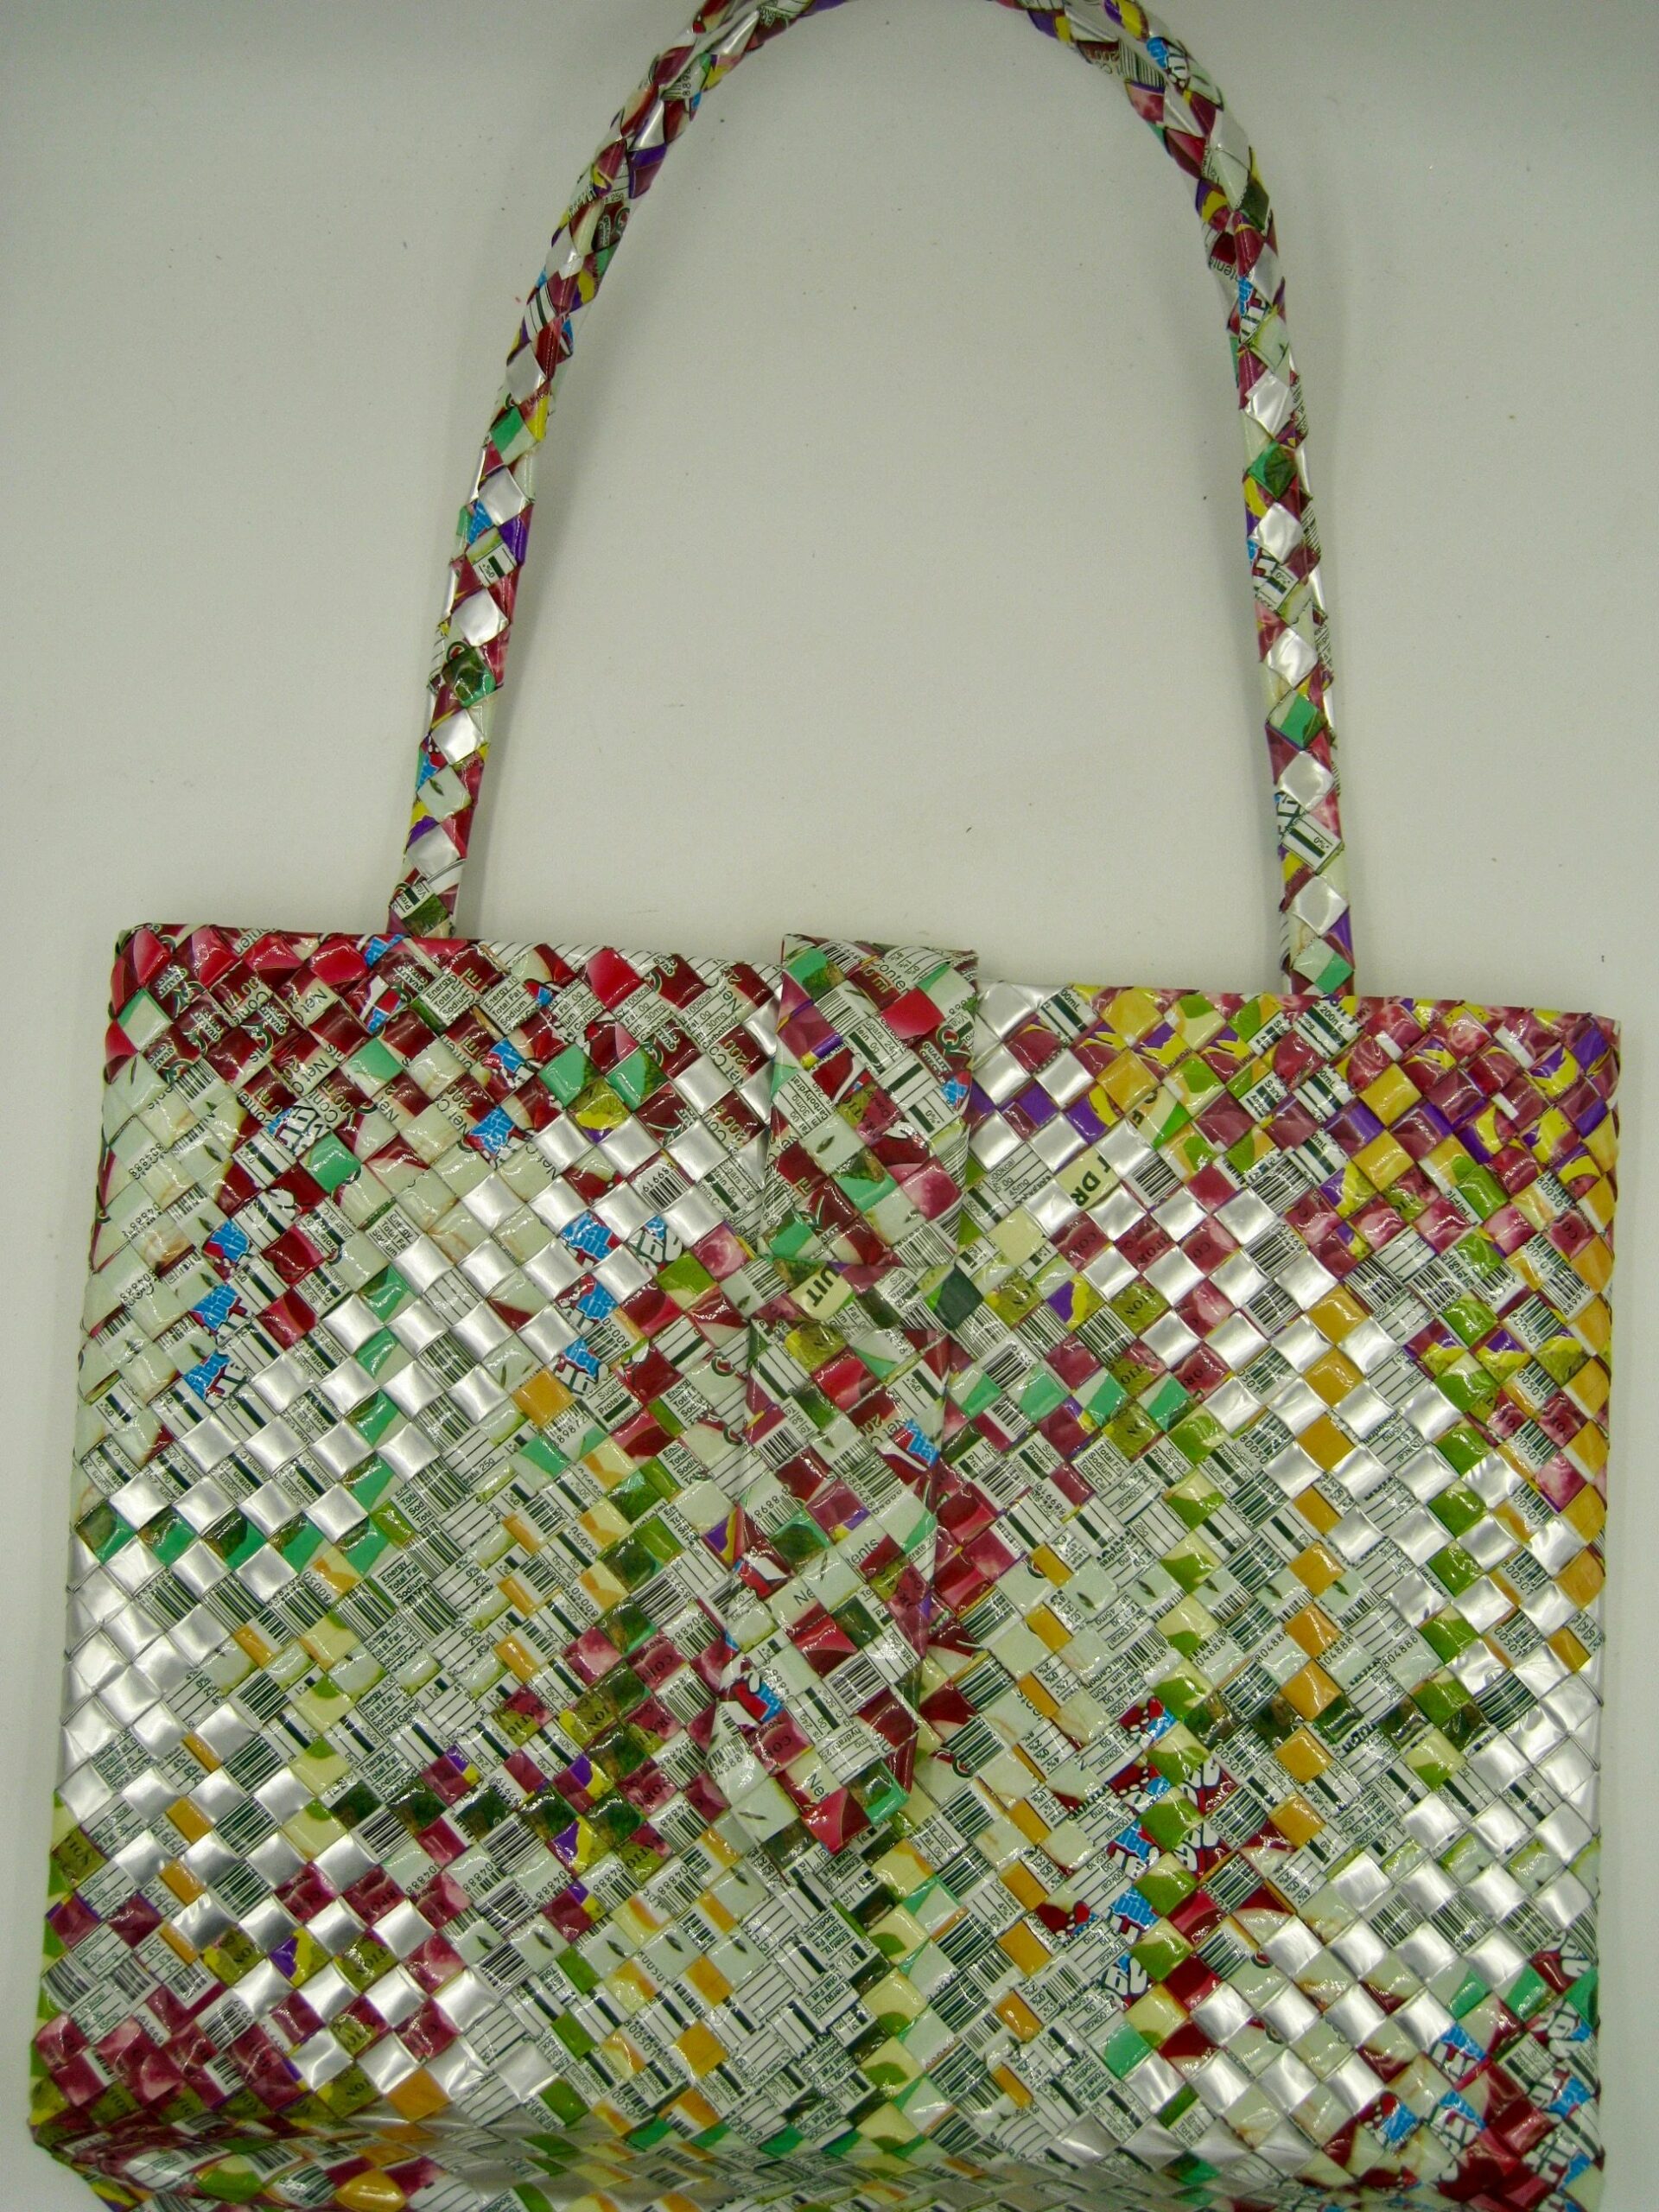
Turn trash into treasure! Master the art of gum wrapper origami and transform discarded wrappers into miniature works of art. This comprehensive guide provides step-by-step instructions for a variety of projects, from simple hearts to the more challenging crane, and explores the untapped potential of this eco-friendly craft. Whether you’re a complete beginner or a seasoned folder, you’ll find inspiration and practical tips to create your own tiny masterpieces. We’ll cover creating hearts, cranes, rings, butterflies, stars, and even tiny boats – all from those little foil squares. Get ready to unlock your inner artist!
Quick & Colorful Creations: Getting Started
Folding tiny treasures from discarded gum wrappers might sound quirky, but it’s surprisingly satisfying and great for developing fine motor skills. This guide walks you through a range of projects, from simple designs perfect for beginners to more intricate creations that will challenge and inspire you. So gather your wrappers and let’s get folding! Delve into the surprisingly intricate world of hh&h and unlock your creative potential.
Essential Supplies for Your Origami Journey
Your primary material, of course, is gum wrappers! Experimenting with different types is part of the fun. Foil wrappers offer a crispness that holds folds well, while papery wrappers are more flexible and forgiving for beginners. While not strictly necessary, a bone folder or even a ruler can help create sharp creases for a polished look.
Project 1: The Sweet Little Heart
Transforming a gum wrapper into a tiny heart is a quick and easy project perfect for beginners. It’s an ideal introduction to the joys of gum wrapper origami. Resources like Instructables (7-step tutorial) and The Craftaholic Witch (folding instructions + video) can offer additional guidance.
- Smooth Operator: Flatten your gum wrapper completely. Wrinkles can interfere with neat folds, so smooth it with your fingers or carefully iron it on a low setting between two sheets of paper.
- Fold in Half: Fold the wrapper lengthwise, bringing the long edges together. Ensure the edges align and press firmly to create a sharp crease.
- Pointy Ends: Fold the top two corners down towards the center crease, like creating airplane wings.
- Bottom Up: Fold the bottom edge upwards to meet the points you just created, pressing firmly on the new crease.
- Flip It: Turn the wrapper over.
- Sideways Fold: Fold the sides inwards to meet at the center crease.
- Final Touch: Fold the top flap downwards, tucking it into the ‘valley’ formed by the previous folds. Your heart is complete!
Project 2: The Elegant Crane
Ready for a slightly more challenging project? The crane, a classic origami design, is surprisingly achievable with a gum wrapper. Resources like YouTube tutorials from Apexa Modi (7:15), The Peace Crane Project (9:02), mini_origami_ (0:12 TikTok tutorial), and a step-by-step guide on Origamipages.com can be invaluable.
- Square Up: Trim a rectangular wrapper to make it square.
- Diagonal Creases: Fold the wrapper diagonally in half both ways, creating an “X” crease pattern.
- Rectangle Time: Bring the top and bottom edges to the center crease, flattening the wrapper into a rectangle.
- Smaller Square: Repeat the previous step with the left and right edges to create a smaller square.
- Bird Base: Open up some flaps to form the “bird base.” Online tutorials and videos are particularly helpful for this step.
- Head and Wings: Carefully fold and shape the head and wings of the crane, referencing visual aids as needed. TheSecretsOfOrigami.com also has a helpful guide.
Project 3: Quick & Easy Creations
For instant gratification, try these simpler designs:
- Ring: Fold a wrapper lengthwise into a thin strip, coil it around your finger, and tuck the end in. Origamipages.com provides step-by-step instructions.
- Butterfly: Explore the intricate design in a YouTube tutorial by gum_wrapper_origami-ガムの包み紙で折り紙 (8:18).
- Star: Create a five-pointed star following the tutorial by gum_wrapper_origami-ガムの包み紙で折り紙 (8:39) available on YouTube.
- Boat: TikTok user @qoddess.arts showcases miniature boat creations.
- Swan: Craftshowsuccess.com offers a detailed guide.
More designs and resources can be found on sites like Origami-Instructions.com and The Spruce Crafts.
Tips & Tricks for Origami Success
- Flat is Best: Smooth wrinkles with your fingers or a low-heat iron (between paper).
- Crisp Creases: Use a bone folder or ruler for sharp folds.
- Practice Makes Perfect: Don’t get discouraged if your first attempts aren’t flawless. Origami improves with practice.
- Wrapper Variety: Experiment with different wrapper types (foil, waxed paper, patterned) for varied effects.
Beyond the Basics: Untapped Potential
Explore advanced techniques like wet-folding for shaping, modular origami (combining multiple wrappers), thematic collections, and even incorporating wrappers into jewelry or mixed-media art. Connect with online communities for inspiration and sharing.
Benefits of Gum Wrapper Origami
This eco-friendly craft enhances fine motor skills, sparks creativity, and promotes upcycling. It’s a fun and portable activity for all ages.
Conclusion
Gum wrapper origami offers a world of creative possibilities. From simple folds to intricate designs, this craft transforms everyday trash into tiny treasures. Share your creations and inspire others to discover the joy of gum wrapper origami!


