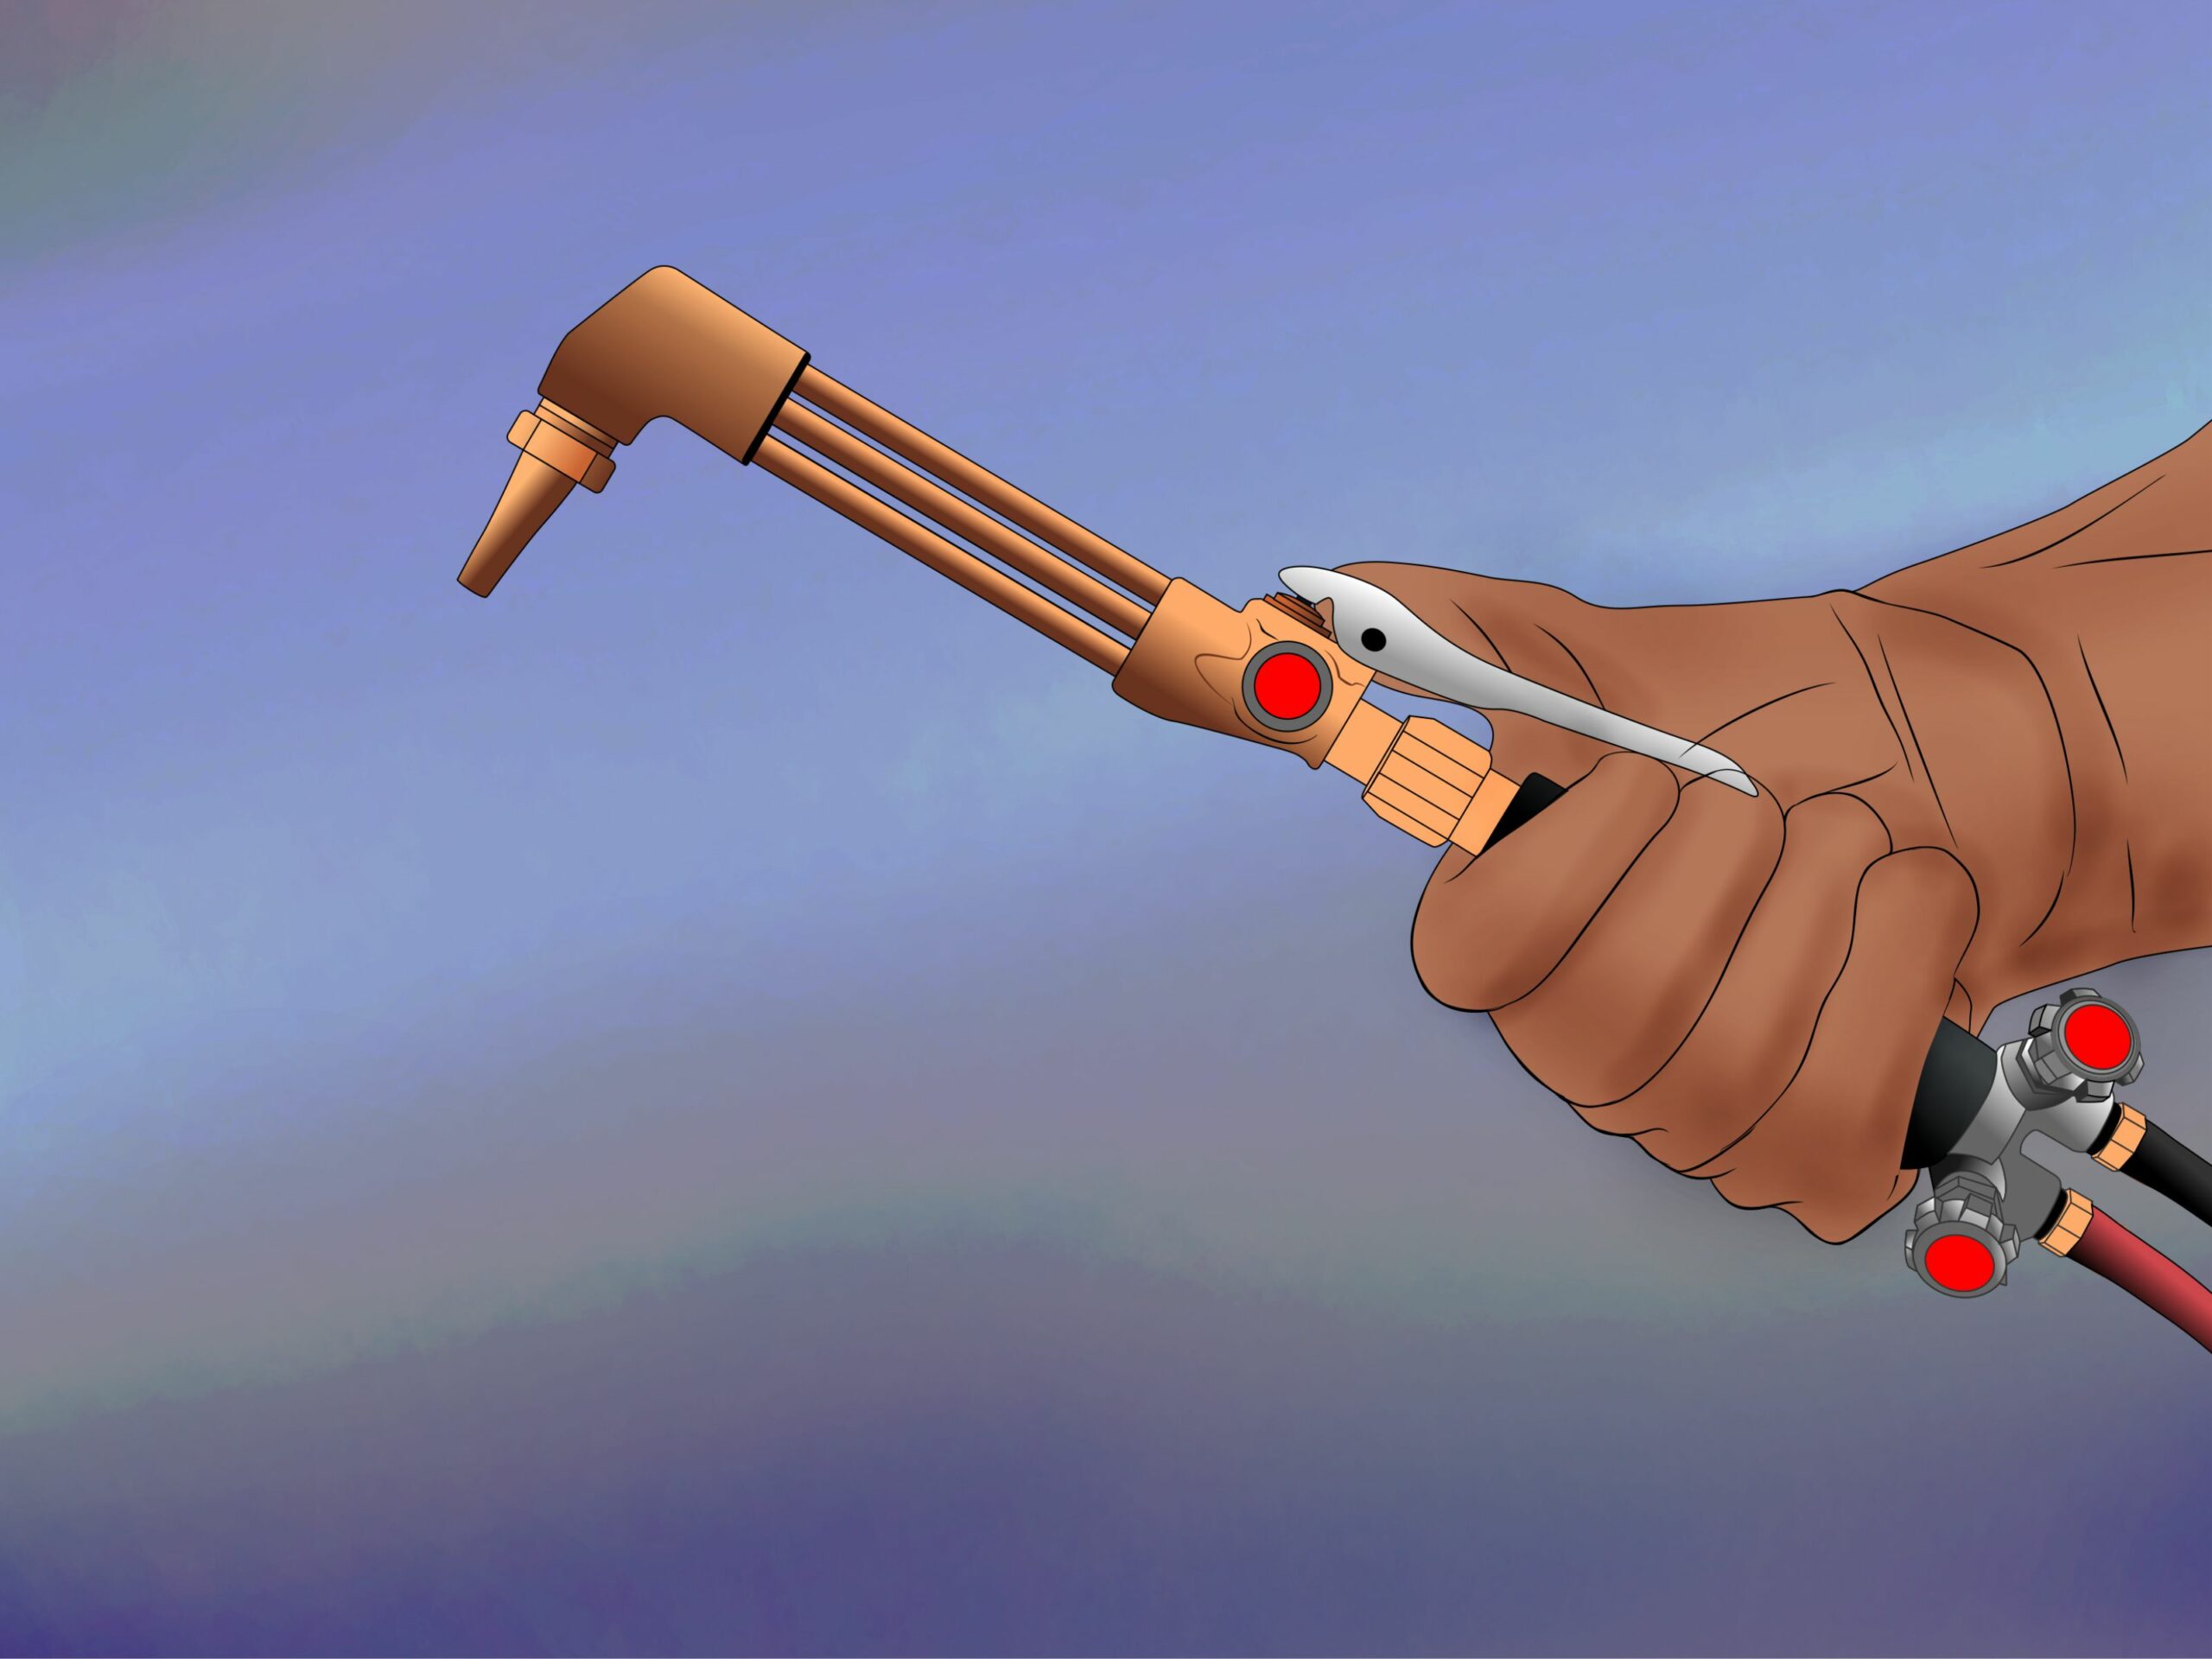
Working with metal requires the right tools and the know-how to use them effectively. An oxy-acetylene torch offers versatility for cutting, welding, and brazing, but safe and effective operation is paramount. This comprehensive guide provides step-by-step instructions, troubleshooting tips, and material-specific guidance to help you master this powerful tool.
Preparing for Operation: Safety First
Before striking the torch, prioritizing safety is non-negotiable. Treat these pressurized gas cylinders with respect, following these precautions:
Cylinder Security: Secure cylinders upright using chains or straps to a stable cart or wall mount in a well-ventilated area, away from flammable materials.
Valve and Hose Inspection: Thoroughly examine valves, hoses, and regulators for cracks, damage, or wear. Replace any suspect components immediately.
Outlet Cleaning: Before connecting regulators, remove dust or debris from valve outlets using a designated cap. This ensures smooth gas flow and prevents potential issues.
Regulator and Hose Connection: Attach the correct regulator to its corresponding cylinder (green for oxygen, red for acetylene). Connect hoses securely, double-checking for a tight seal.
Leak Testing: Apply a soapy water solution to all connections. Bubbles indicate a leak. Tighten or replace components as needed. Never use a flame to check for leaks.
Personal Protective Equipment (PPE): Always wear appropriate safety gear:
- Eye Protection: Welding-specific shaded lenses are essential to protect your eyes from intense light and sparks.
- Gloves: Heavy-duty gloves shield your hands from heat and spatter.
- Clothing: Flame-resistant clothing protects your body from sparks and heat. Avoid loose clothing or dangling jewelry.
Workspace Preparation: Ensure your work area is clear of flammable materials, and keep children and pets at a safe distance.
Igniting and Adjusting the Flame: Achieving Precision Control
With safety measures in place, it’s time to ignite the torch and fine-tune the flame for your specific application:
Purge Gas Lines: Briefly open and close both oxygen and acetylene valves on the torch body to purge air from the lines.
Light the Acetylene: Open the acetylene valve half a turn and ignite the gas with a striker, never a match or lighter. A sooty, yellow flame will appear.
Adjust Acetylene: Increase acetylene flow until the flame lifts slightly off the tip, then decrease until it “kisses” the tip, achieving a clean, smoke-free flame.
Introduce Oxygen: Slowly open the oxygen valve, observing the flame change color and intensify. Adjust until a neutral flame is achieved—a distinct blue inner cone within a softer blue outer cone.
Fine-tuning for Application:
- Neutral Flame: Ideal for most welding and heating applications.
- Oxidizing Flame (Excess Oxygen): Shorter, purplish-blue inner cone. Best for cutting and brazing. Achieved by increasing oxygen flow using the oxygen lever on cutting torches, or fine-tuning the oxygen valve on welding/brazing torches.
- Carburizing Flame (Excess Acetylene): Feathered, yellowish inner cone, used for specific welding situations. Achieved by increasing the acetylene flow.
Shutting Down: The Safe Approach
Proper shutdown is as crucial as setup:
Oxygen Off First: Close the oxygen valve on the torch body.
Acetylene Off Next: Close the acetylene valve on the torch body.
Close Cylinder Valves: Close the main valves on both oxygen and acetylene cylinders.
Bleed Pressure: Briefly open the torch valves to release residual pressure from hoses and regulators.
Disconnect and Store: After cooling, disconnect hoses and regulators, storing equipment in a dry, well-ventilated area away from heat and sunlight.
Troubleshooting Common Issues
Even with careful operation, issues can arise:
- Flashback (Flame Retreats into Torch): Likely caused by incorrect gas pressures, a clogged tip, or touching the tip to the workpiece. Immediately shut off oxygen, then acetylene. Inspect and clean or replace the tip. Adjust gas pressures as needed.
- Backfire (Loud Pop): Usually caused by touching the tip to the workpiece or a sudden change in gas flow. It suggests the need for adjustment in technique or gas flow.
- Unstable Flame (Flickering or Sputtering): Probably due to low gas pressure, leaks, or a dirty tip. Check connections, gas levels, and clean or replace the tip if necessary.
- Clogged Tip: Clean with a tip cleaner designed for your torch tip size. Never use a sharp object, which can enlarge or damage the orifice.
Material-Specific Settings and Tip Selection
Optimizing performance requires selecting the correct tip size and adjusting gas pressures according to the material being worked on:
| Material | Thickness (inches) | Acetylene (psi) | Oxygen (psi) | Suggested Tip Size |
|---|---|---|---|---|
| Steel | 1/16 | 2 | 4 | 0 |
| Steel | 1/8 | 5 | 40 | 1 |
| Steel | 1/4 | 7 | 45 | 2 |
| Aluminum | 1/8 | 4 | 35 | 1 |
| Aluminum | 1/4 | 6 | 40 | 2 |
| Copper | 1/8 | 3 | 30 | 0 |
| Copper | 1/4 | 5 | 35 | 1 |
- Note: These pressures are estimates. Consult your torch manufacturer’s recommendations for precise settings. Tip size selection is also based on material thickness—larger tips for thicker materials.
Torch Maintenance
Regular maintenance ensures longevity and performance:
- Tip Cleaning: Regularly clean tips with a proper tip cleaner to prevent clogging.
- Hose Inspection: Check hoses for cracks and wear, replacing them as needed.
- Regulator Inspection: Ensure regulators function correctly and maintain consistent pressure.
This guide provides a solid foundation for safe and effective oxy-acetylene torch operation. Remember, hands-on experience, combined with continuous learning and adherence to safety protocols, is key to mastering this versatile tool. For businesses seeking to streamline operations, integrating payroll and HR systems like Paychex NetSuite Integration can be a valuable asset.
- Armor of Agathys 5e: A Cold Embrace of Offense and Defense - December 19, 2024
- Spined Devil 5e: A Devilishly Detailed Guide to Tactics, Lore, and DM Tips - December 19, 2024
- D&D 5e Broom of Flying: A Comprehensive Guide to Airborne Adventures - December 19, 2024


